

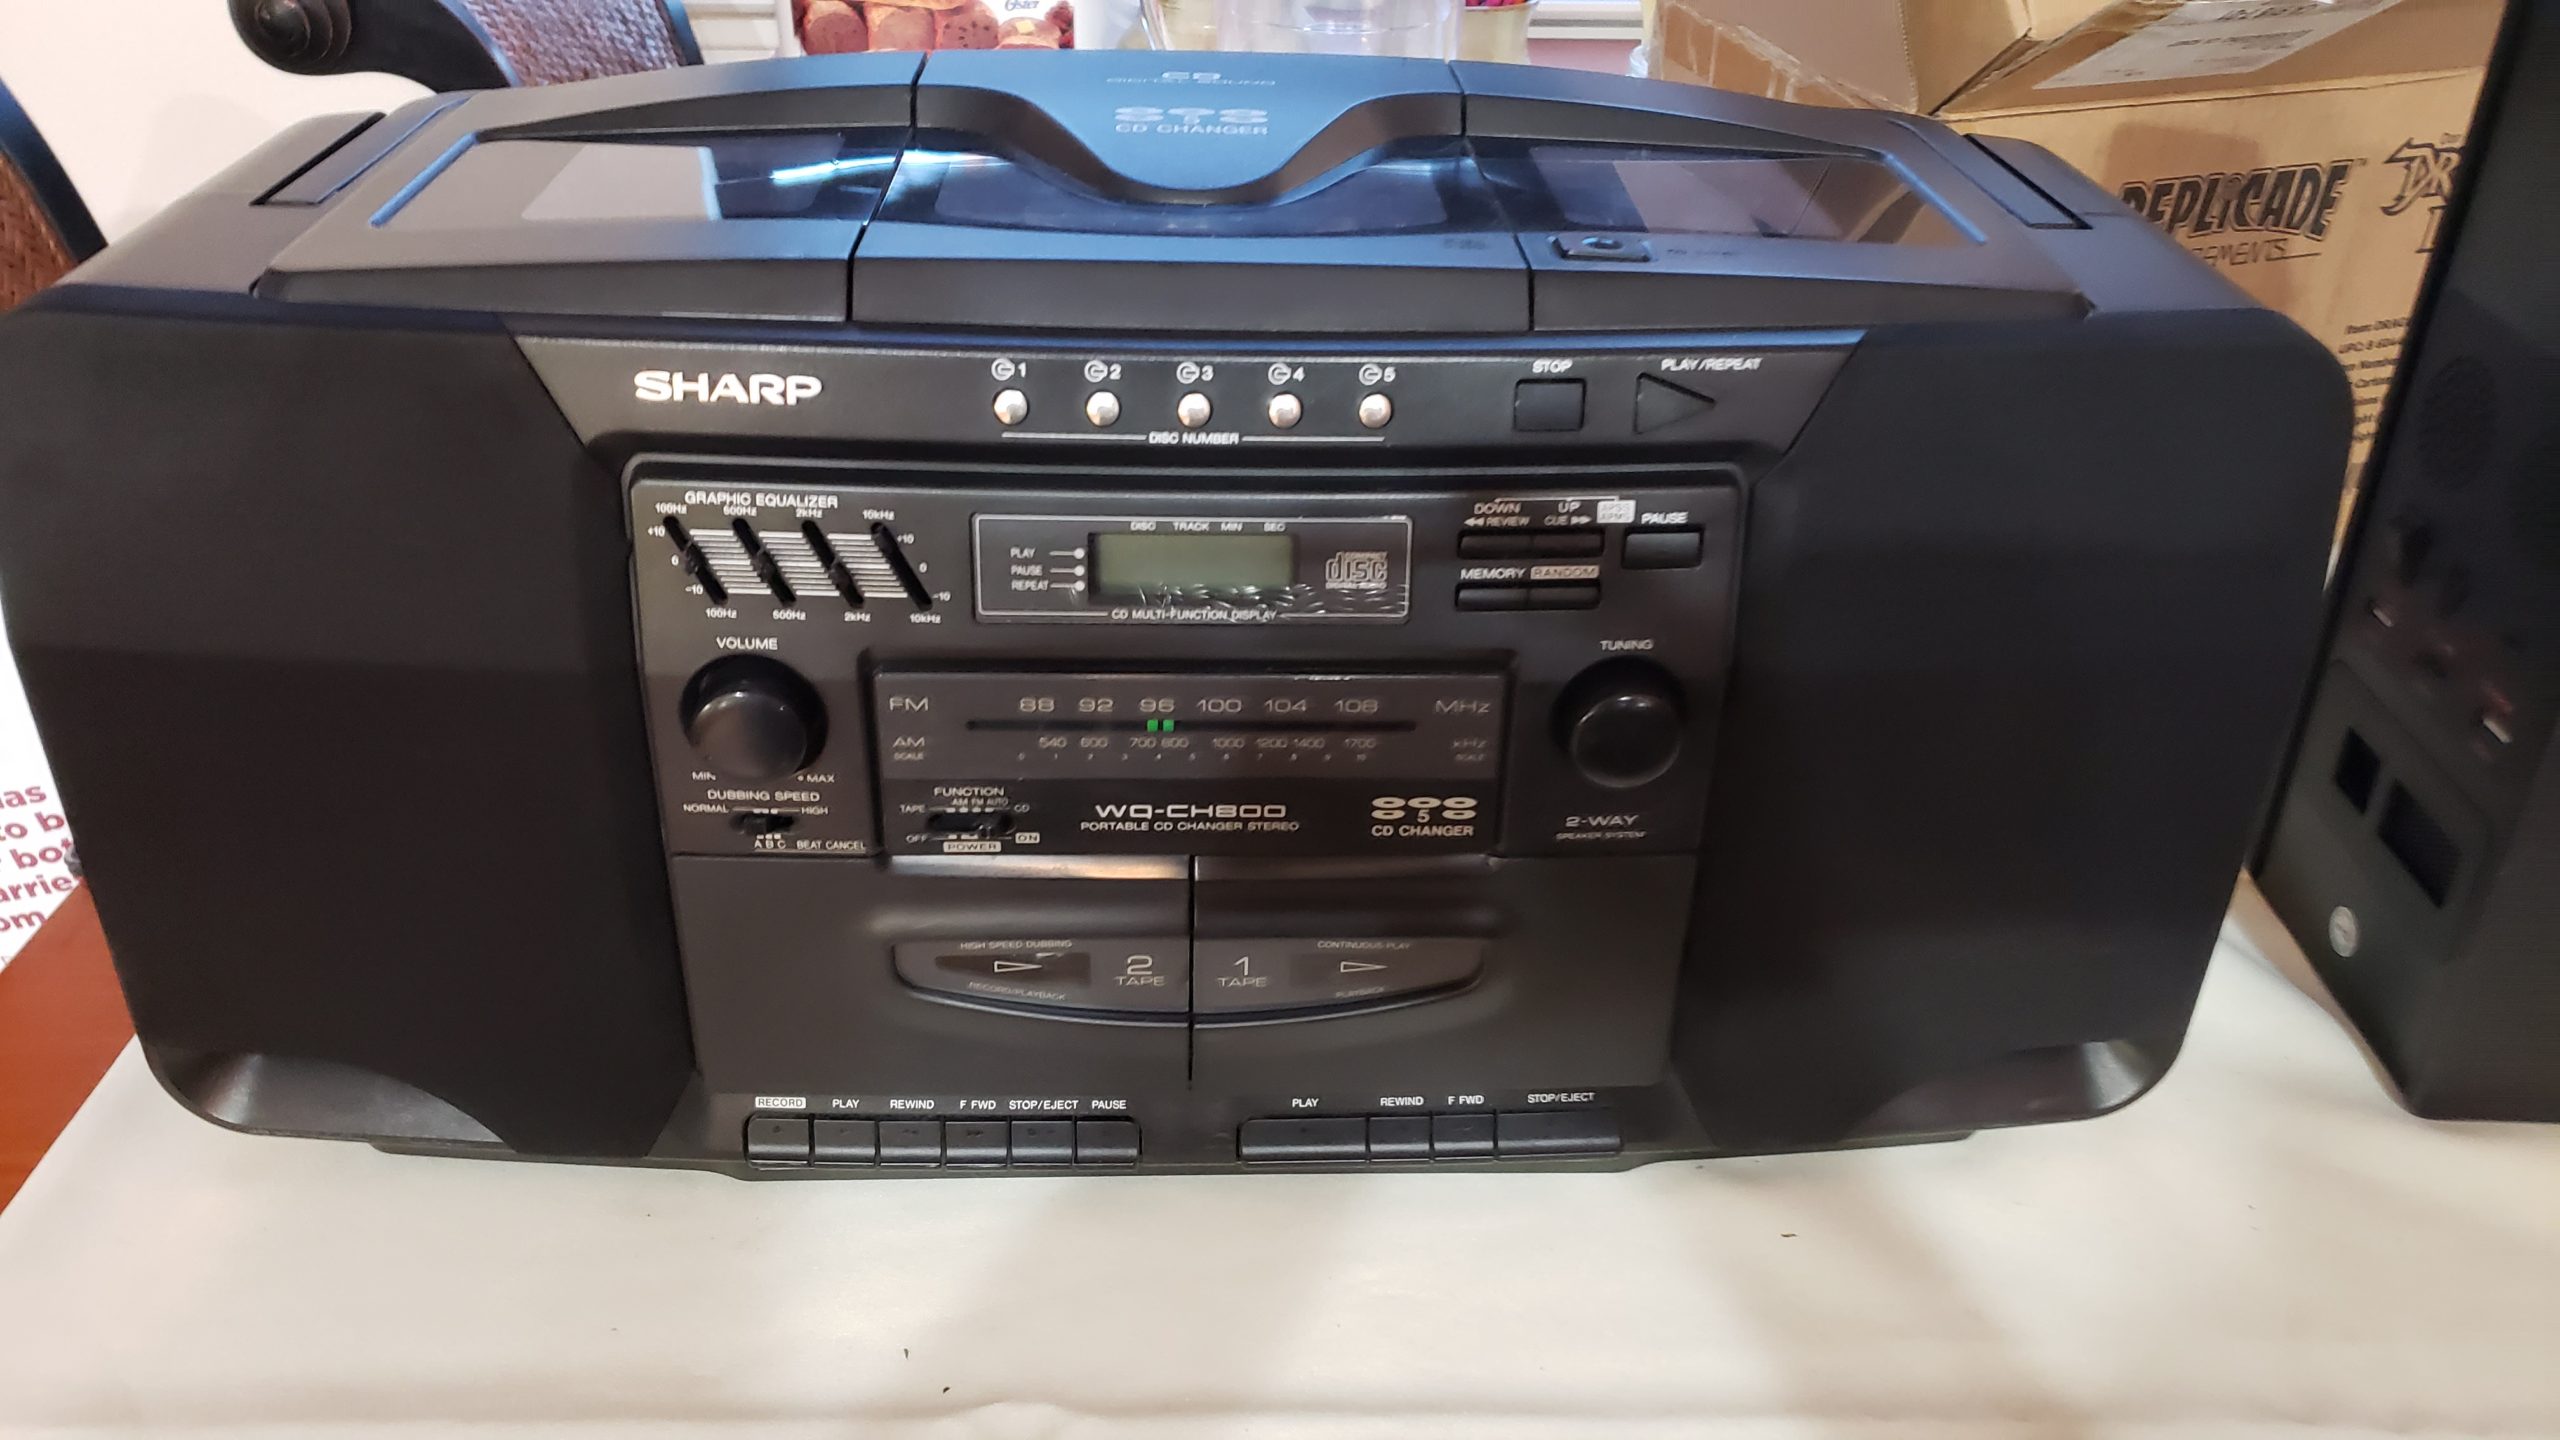
A few weeks ago a friend of mine from the job generously gave me his old Sharp 5-CD changer. The speaker cover cloth/felt was in bad need of repair. It was old, completely faded, one side had a hole. You could actually make out the grid marks from the plastic behind the cloth. So I set out to try and remedy the situation. First, I visted a local Hobby Lobby looking for the right replacement cloth. They may have had it, but I could not locate what I was looking for. Next, I tried the local crafts store called “JoAnnes”. This time I was lucky enough to find the right fit.

There were a few different ones to chose from. I liked this one because it was double-sided, so to speak. The reverse side is glossy. This fabric also has the added benefit of being stretchy, being that it is 18% spandex. This is a must for a project like this. The next step was determining if the speaker covers were removable. Unfortunately, after some basic digging around I determined it was not. Instead, there are about 6 screws that could be fairly easily removed with a Phillips head screwdriver. A few of them were pretty deep requiring a long screwdriver. After removing the screws, the unit could be separated fairly easily.

I apologize for the lack of photos, but I was not intending to post this to the blog at first. Opening the unit up revealed a bit of a dusty situation. I broke out the q-tips and used some elbow grease to clean up as much of it as possible. This would have been a good use for canned air, had I had any handy.
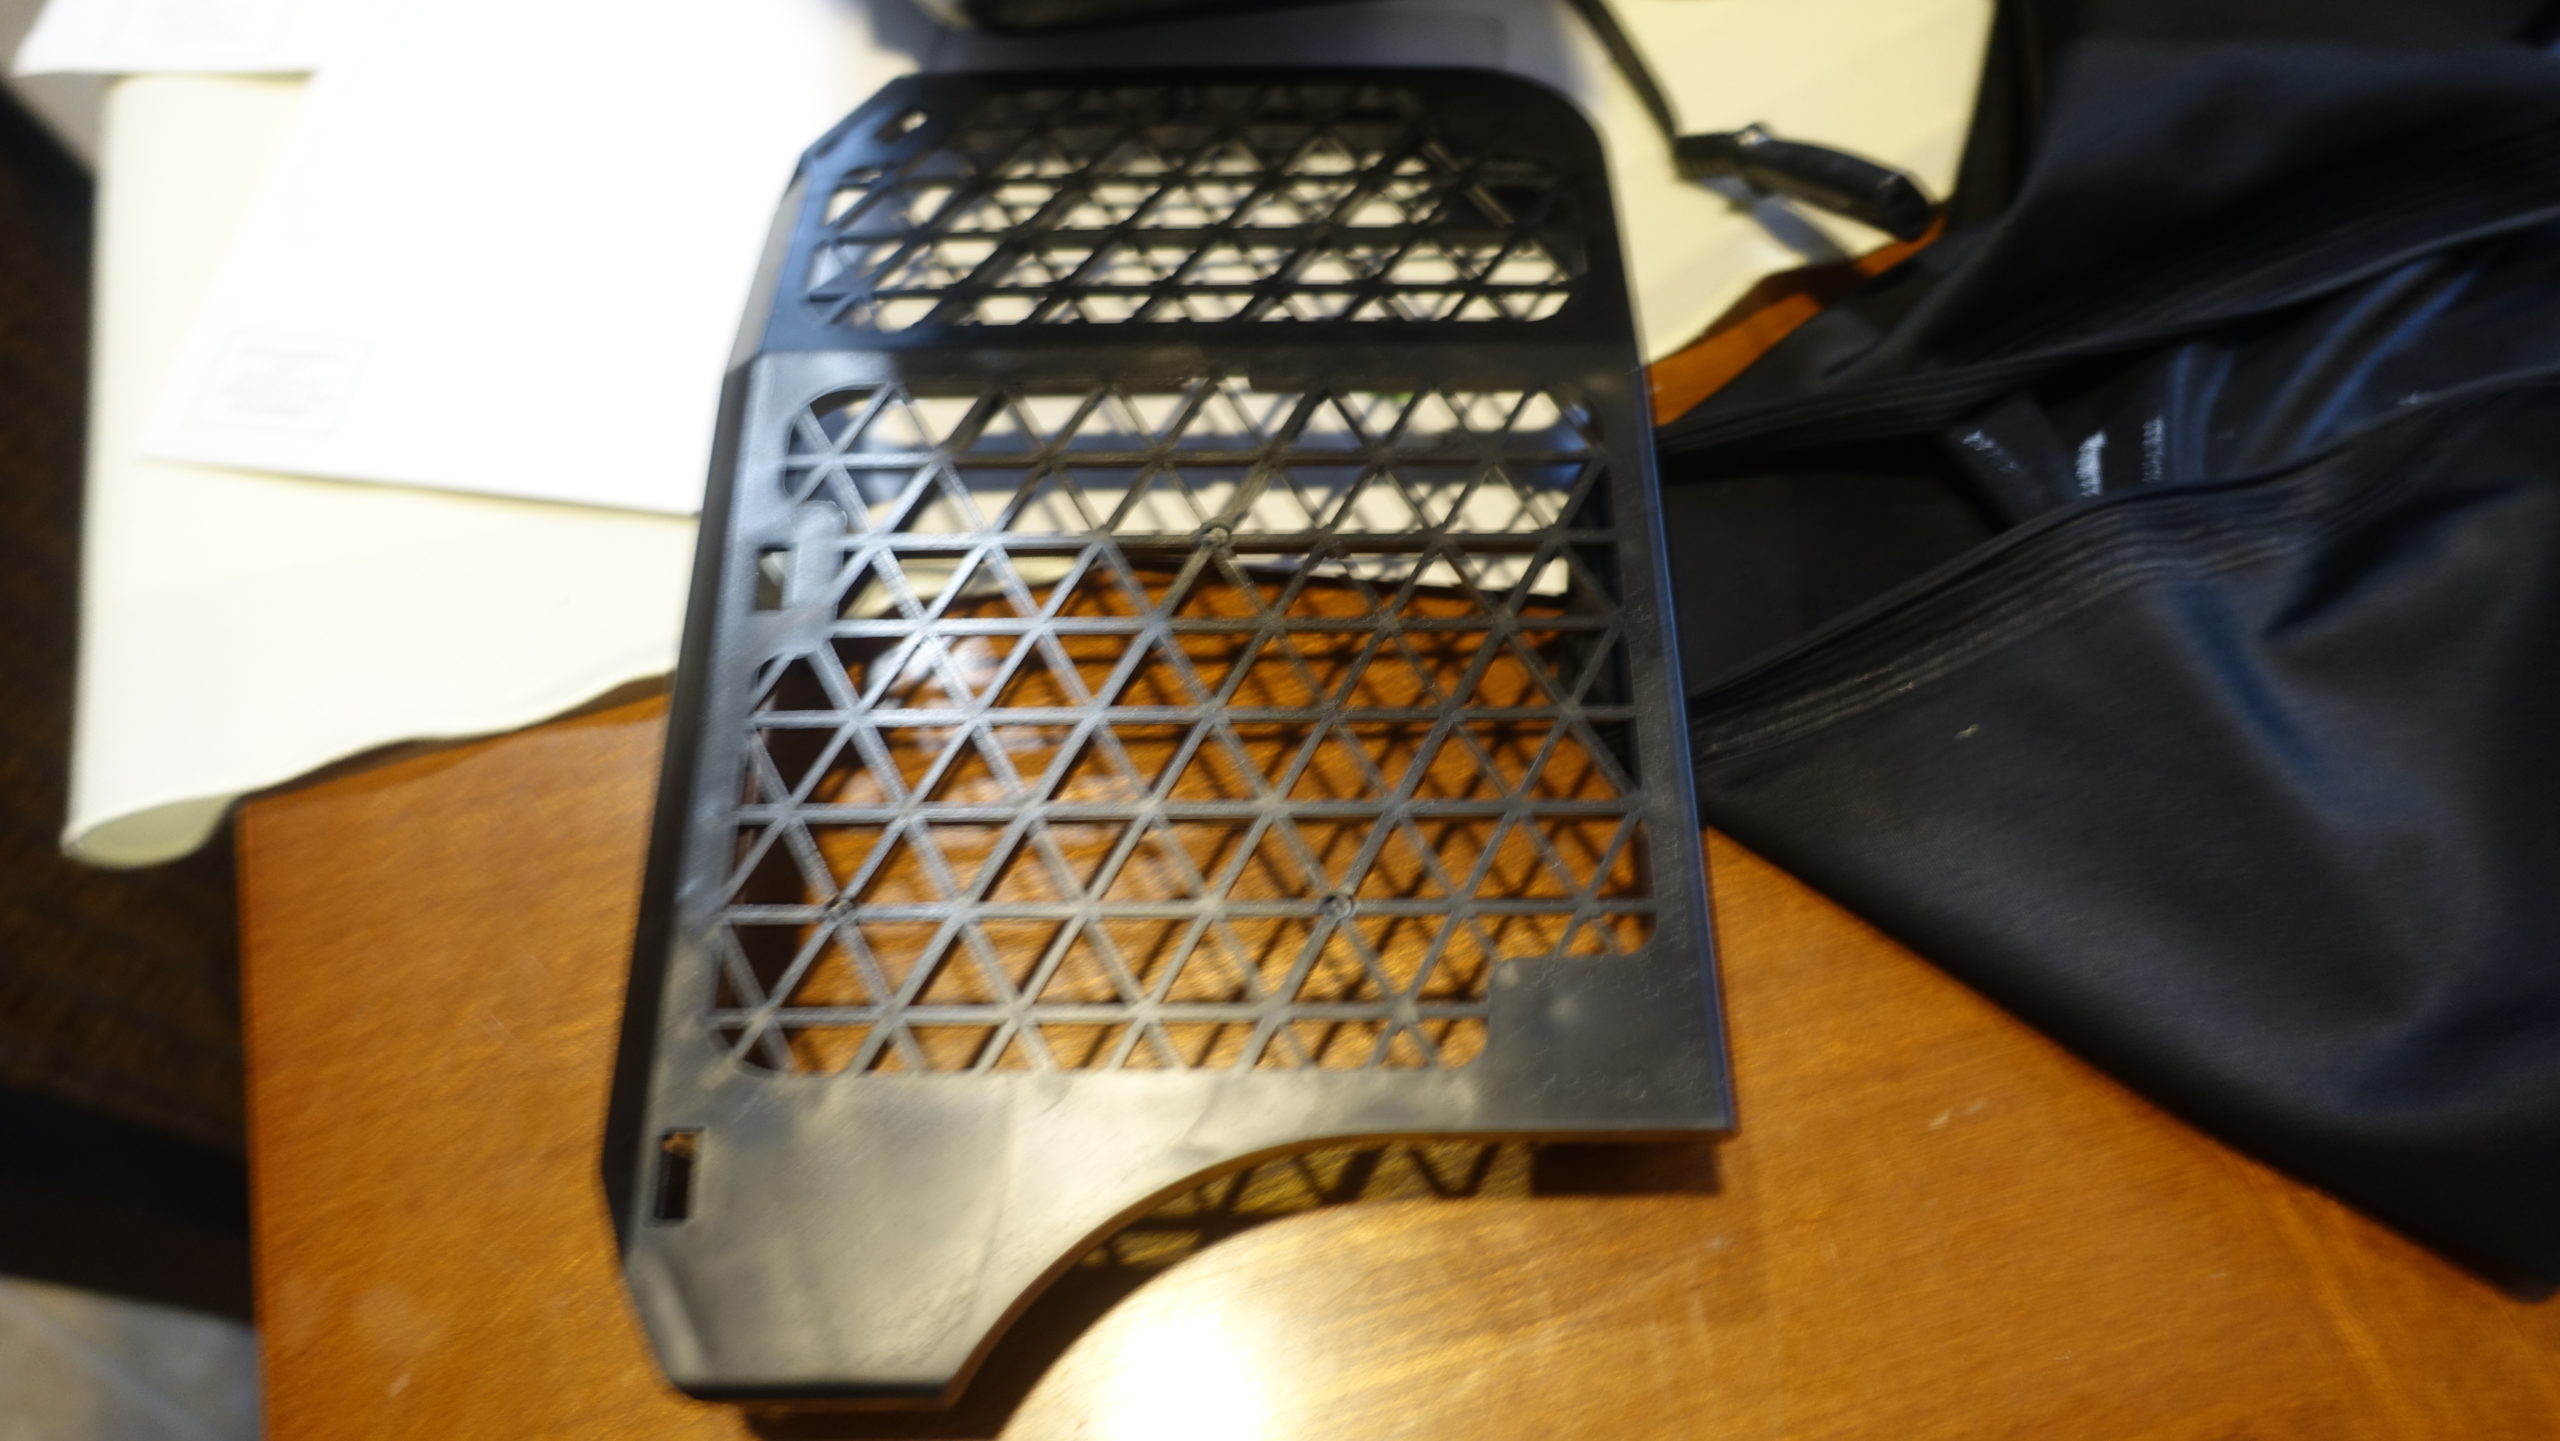
Next, on to the plastic speaker covers. I had to pull off all of the old cloth, the best I could, and cut out a rough sketch of the new cloth to go around it. I used the clear gorilla glue and some cheap plastic clamps and clothespins to hold the cloth in place. I did this on one side, let it dry for about 30 minutes, stretch the cloth to the other side, and repeat. Made it sound easy right… Well, this took me several days due to issues like wrinkles and parts where the fabric was not stretched tight enough.
I at one point I was nearly completely finished, about to glue one last little spot down, and ended up spilling glue on top of the fabric! Foiled… I had to pull off all the fabric and start over. Bummer.

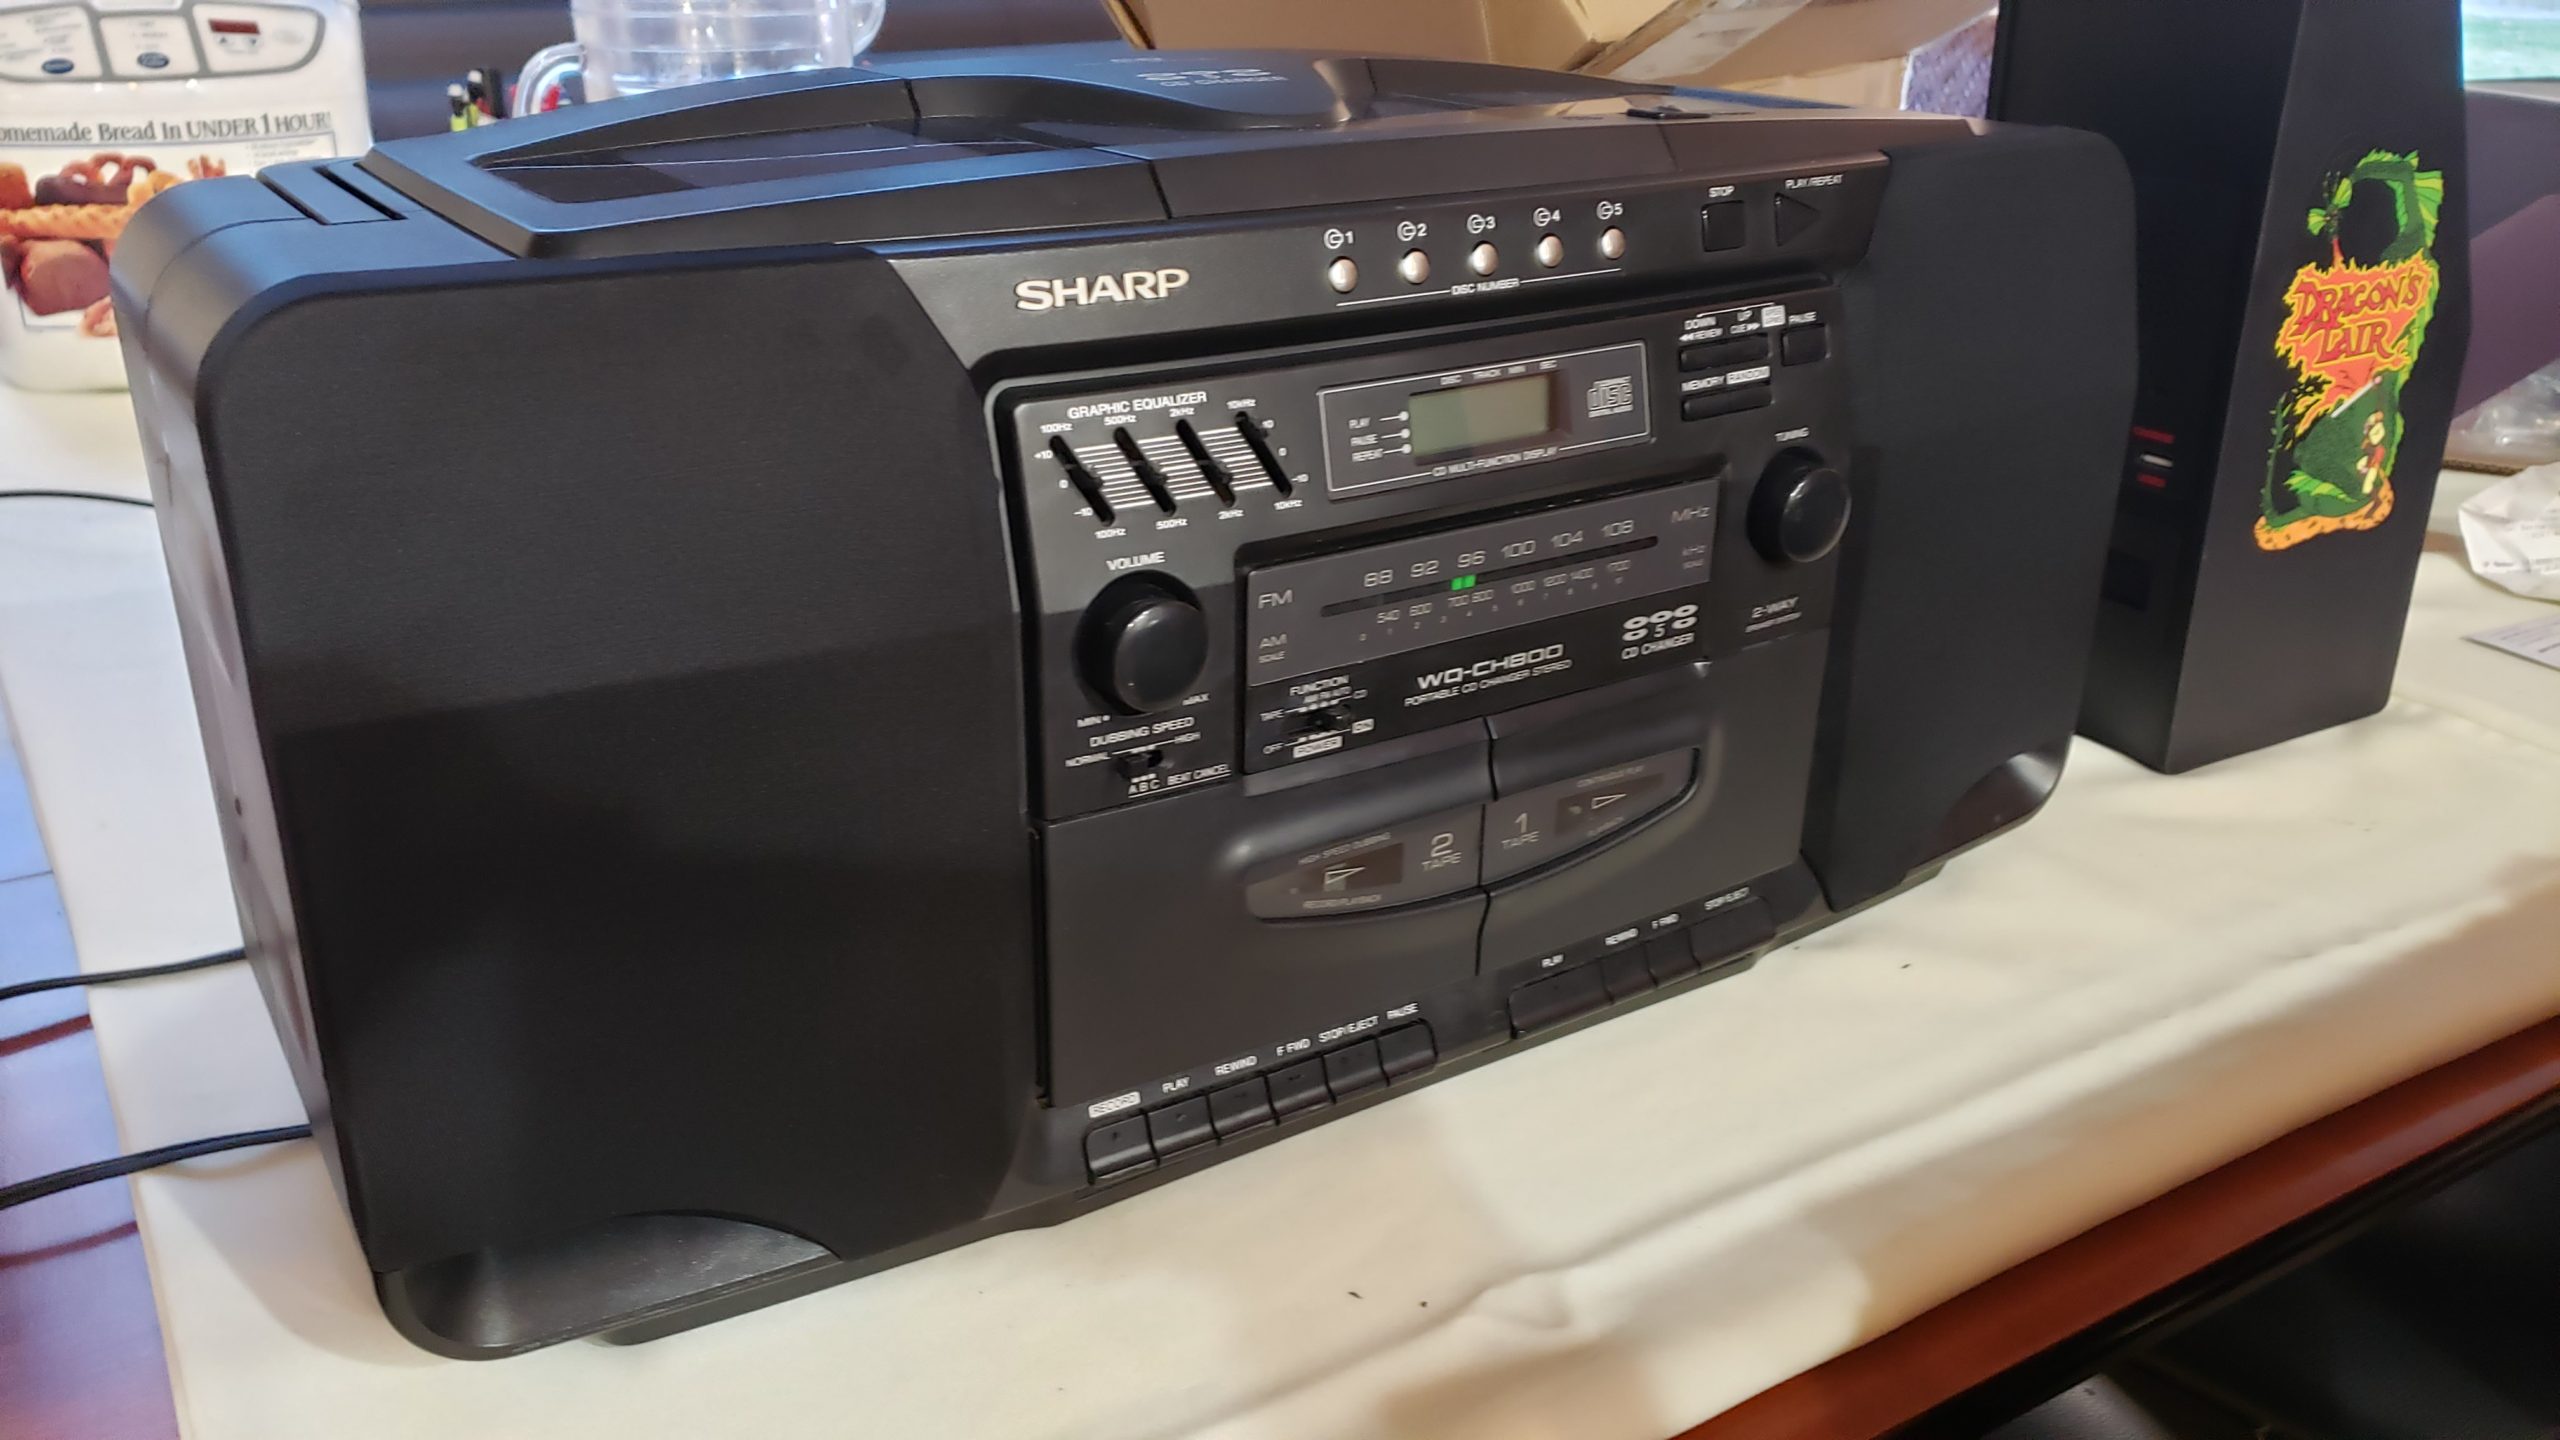
(did you spot the Dragon’s Lair Replicade?)
Anyhow, I was quite pleased with how it turned out. After having completed the project, it wasn’t until then I realized I hadn’t even tested the unit out to make sure it was functioning properly. I was extremely lucky. I recorded a quick video as a Gray Defender Blog exclusive for you to check out the unit in action:


Hello Gary, I have a similar situation with my daughter’s old “boom box” from her high school days. Her speaker grills have deteriorated, but after reading your article now I know how to fix them. Thanks you for schooling me on making the repairs.